How to publish an iOS app with Claude Code (2026)
Claude Code can do most of the work between a finished Xcode project and a live App Store version. This guide walks through each step in order, shows what to ask the agent and what you still do yourself, and links Apple's own pages for every rule.
This guide is for developers who already have an iOS app in Xcode and use Claude Code in their terminal. The commands work the same way with any coding agent that can run shell commands. Apple’s requirements below are the ones in force in October 2026; each section links the Apple page to check before you ship.
Steps 3 to 7 each show two ways: by hand, and with SwiftSales, which gives Claude Code the App Store Connect API on your Mac with your own key. Section 8 sets it up.
1. What you need before you start
- Apple Developer Program membership. It costs $99 a year (Apple lists the price in local currency when you enroll). Organizations also need a D-U-N-S number.
- The current agreement. The Account Holder signs it in App Store Connect › Business; you can’t add an app until it’s signed. A paid app or in-app purchases also need the Paid Applications Agreement.
- Xcode 26 or later. Since April 28, 2026, apps uploaded to App Store Connect must be built with Xcode 26 or later and the iOS 26 SDK. Apple announces the next one on its Upcoming requirements page.
- An app record. In App Store Connect, choose Apps › Add (+) › New App and enter the platform, name, primary language, bundle ID and SKU. Apple doesn’t offer this step in its API, so you do it once in the browser, as the Account Holder, an Admin or an App Manager.
- An App Store Connect API key, if Claude Code should upload from the command line. Create an App Store Connect API key covers the key, the Issuer ID and the role.
2. Let Claude Code archive and export the build
A build for the App Store is an archive exported with the app-store-connect method. Two numbers decide whether App Store Connect accepts it:
- Version (
MARKETING_VERSION, shown asCFBundleShortVersionString), for example 1.4. It must be higher than the version that’s live. - Build number (
CURRENT_PROJECT_VERSION, shown asCFBundleVersion), for example 42. It must be higher than every build you uploaded for that version.
Ask Claude Code to read these from the project rather than guess. A prompt like this works well:
Archive and export this app for App Store Connect.
1. Run `xcodebuild -list` and pick the app's scheme. Show me the team, bundle ID,
   version and build number from `xcodebuild -showBuildSettings -scheme <scheme>
   -configuration Release`.
2. Raise CURRENT_PROJECT_VERSION by one and tell me the new number.
   Don't change the team, the signing style, certificates or profiles. If signing
   fails, stop and show me the error.
3. Archive: xcodebuild archive -scheme <scheme> -configuration Release
   -destination 'generic/platform=iOS' -archivePath build/App.xcarchive
4. Write build/ExportOptions.plist with method app-store-connect, my team ID and
   the project's signing style, then run xcodebuild -exportArchive into build/export.
5. Tell me the path of the .ipa.
The export options file Claude Code writes looks like this:
<?xml version="1.0" encoding="UTF-8"?>
<!DOCTYPE plist PUBLIC "-//Apple//DTD PLIST 1.0//EN" "http://www.apple.com/DTDs/PropertyList-1.0.dtd">
<plist version="1.0">
<dict>
    <key>method</key><string>app-store-connect</string>
    <key>destination</key><string>export</string>
    <key>teamID</key><string>ABCDE12345</string>
    <key>signingStyle</key><string>automatic</string>
</dict>
</plist>
With automatic signing, add -allowProvisioningUpdates to the archive and export commands so Xcode can create or update the profiles it needs. Keep signing changes your decision: an agent that “fixes” a signing error by switching teams or profiles creates problems that are slow to undo.
Encryption. If your app uses no encryption, or only the encryption built into the system (HTTPS through URLSession, for example), add ITSAppUsesNonExemptEncryption = NO to the Info.plist. Without the key, App Store Connect asks the export compliance questions for every new version. See Apple’s Complying with encryption export regulations.
3. Upload the build
Apple supports several ways to upload. Pick the one that fits how you work:
- Xcode Organizer. Window › Organizer, select the archive, then Distribute App. The simplest choice when you’re at your Mac.
- Transporter, Apple’s free Mac app: drag the exported
.ipainto it. - The command line, which is what Claude Code can run for you.
altoolauthenticates with your API key. Put the key file at~/.appstoreconnect/private_keys/AuthKey_<Key ID>.p8, one of the folders altool searches, and run:
xcrun altool --upload-app -f build/export/App.ipa -t ios \
  --api-key <Key ID> --api-issuer <Issuer ID>
xcrun altool --help lists the options your Xcode version takes. You can also let the export upload directly: set destination to upload in the export options and pass -authenticationKeyPath, -authenticationKeyID and -authenticationKeyIssuerID to xcodebuild -exportArchive.
Keep the .p8 file out of your repository. Apple’s guidance is not to store keys in a code repository, and an agent that reads your project can read every file in it.
After the upload, Apple processes the build before it appears in App Store Connect, and emails you when processing is done. The Upload builds page lists the supported Xcode versions for each platform.
With SwiftSales
Start the ship prompt with your app’s name and the version:
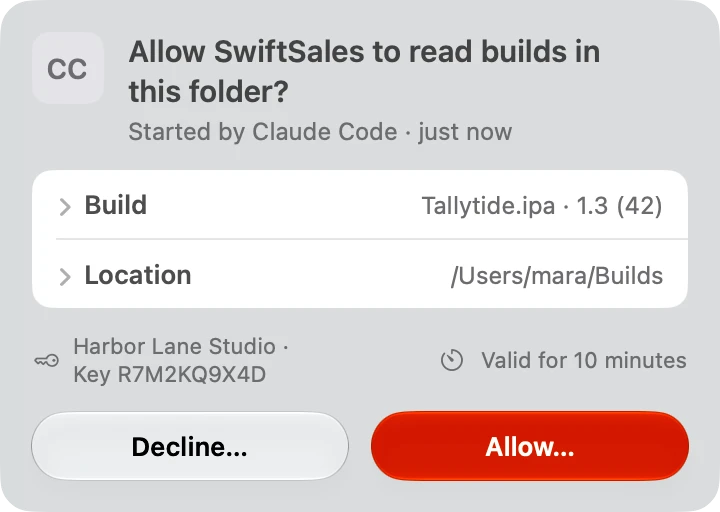
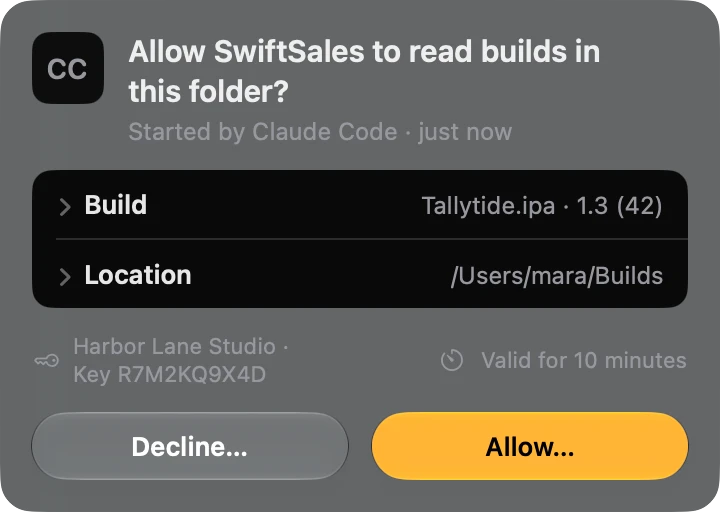
/mcp__swiftsales__ship Tallytide 1.3Claude Code archives and exports as in step 2, into a build folder outside your project, then calls upload_build. SwiftSales uploads the file from your Mac with your key, so no key file has to sit where the agent works. The agent follows Apple’s processing with build_upload_status and tells you when the build is ready.
Uploading needs the Prepare level. The first time, SwiftSales asks you to choose that build folder; later builds in it upload without asking. Keep SwiftSales open while it uploads.
4. Test with TestFlight
- Internal testers: up to 100 App Store Connect users on your team. They can test a processed build without TestFlight App Review.
- External testers: up to 10,000 people, by email or a public link. The first build you send to an external group goes to TestFlight App Review; later builds of the same version might not need a full review. You can submit up to six builds for TestFlight review in 24 hours.
- What to Test: a short note shown to testers with each build. Claude Code can write it from your commit history.
- Public links can have a tester limit between 1 and 10,000, and criteria that filter who can join by device or platform.
- Builds expire after 90 days.
Apple’s details are in the TestFlight overview and Invite external testers.
With SwiftSales
Give Tallytide 1.3 (42) to the Friends & Family group and write What to Test
from the commits since 1.2.
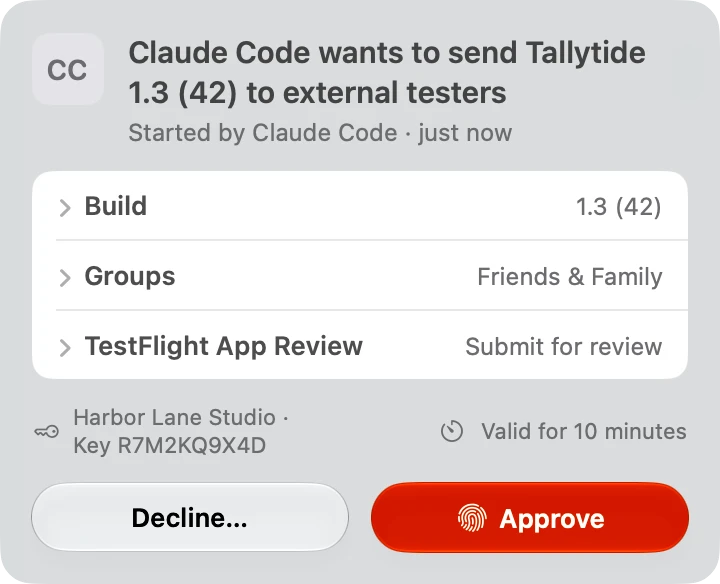
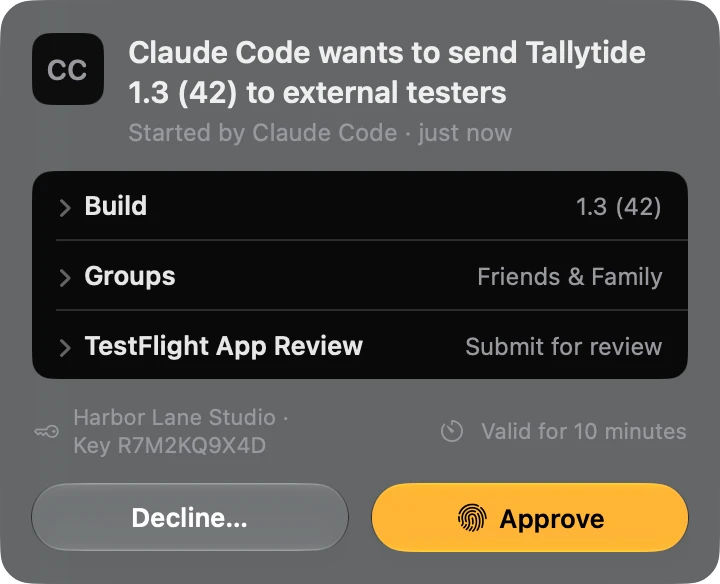
Claude Code gives the build to the group with distribute_build and writes the note with set_what_to_test. manage_beta_group creates groups and turns public links on or off, and beta_feedback reads the screenshots and crash reports testers send. Internal groups get the build right away. An external group sends it to TestFlight App Review, so SwiftSales asks you first.
5. Fill in the App Store page
Most of the page is text that Claude Code can draft for every language your app supports. Apple’s limits:
| Field | Limit |
|---|---|
| Name | 2 to 30 characters |
| Subtitle | 30 characters |
| Keywords | 100 bytes |
| Promotional text | 170 characters, changeable without a new version |
| Description | 4,000 characters, plain text |
| What’s New | 4,000 characters |
Keywords count bytes, not characters, so Chinese or Japanese keywords use the space up about three times faster than English ones. Don’t repeat your app name or company name there, since the App Store already searches both, and leave out the names of other apps and companies.
Screenshots. Up to 10 per device size, as JPEG or PNG without transparency. As of October 2026, Apple’s Screenshot specifications list these as required:
| Device | Required | Pixels (portrait) |
|---|---|---|
| iPhone with Dynamic Island, medium display | At least one | 1206 × 2622 or 1179 × 2556 |
| iPhone with Face ID, large display | If you don’t upload iPhone with Dynamic Island, large display (1320 × 2868, 1290 × 2796 or 1260 × 2736) | 1284 × 2778 or 1242 × 2688 |
| iPad 13-inch display | If your app runs on iPad | 2064 × 2752 or 2048 × 2732 |
App Store Connect scales your screenshots down for smaller sizes when the interface is the same. Apple has also announced that from April 2027, apps built with the iOS 27.1 SDK or later need iPhone Duo screenshots. Check the specifications page before you capture, because these sizes change with new devices.
The rest of the page: a privacy policy URL (required for iOS apps), the App Privacy answers about the data you collect, the age rating questionnaire, a category, and the review notes. If your app needs a sign-in, give App Review a working demo account in the notes.
With SwiftSales
Prepare Tallytide 1.3 with build 42, released automatically after approval
in phases. Write What's New in every language from the changes since 1.2,
then tell me what's still missing.
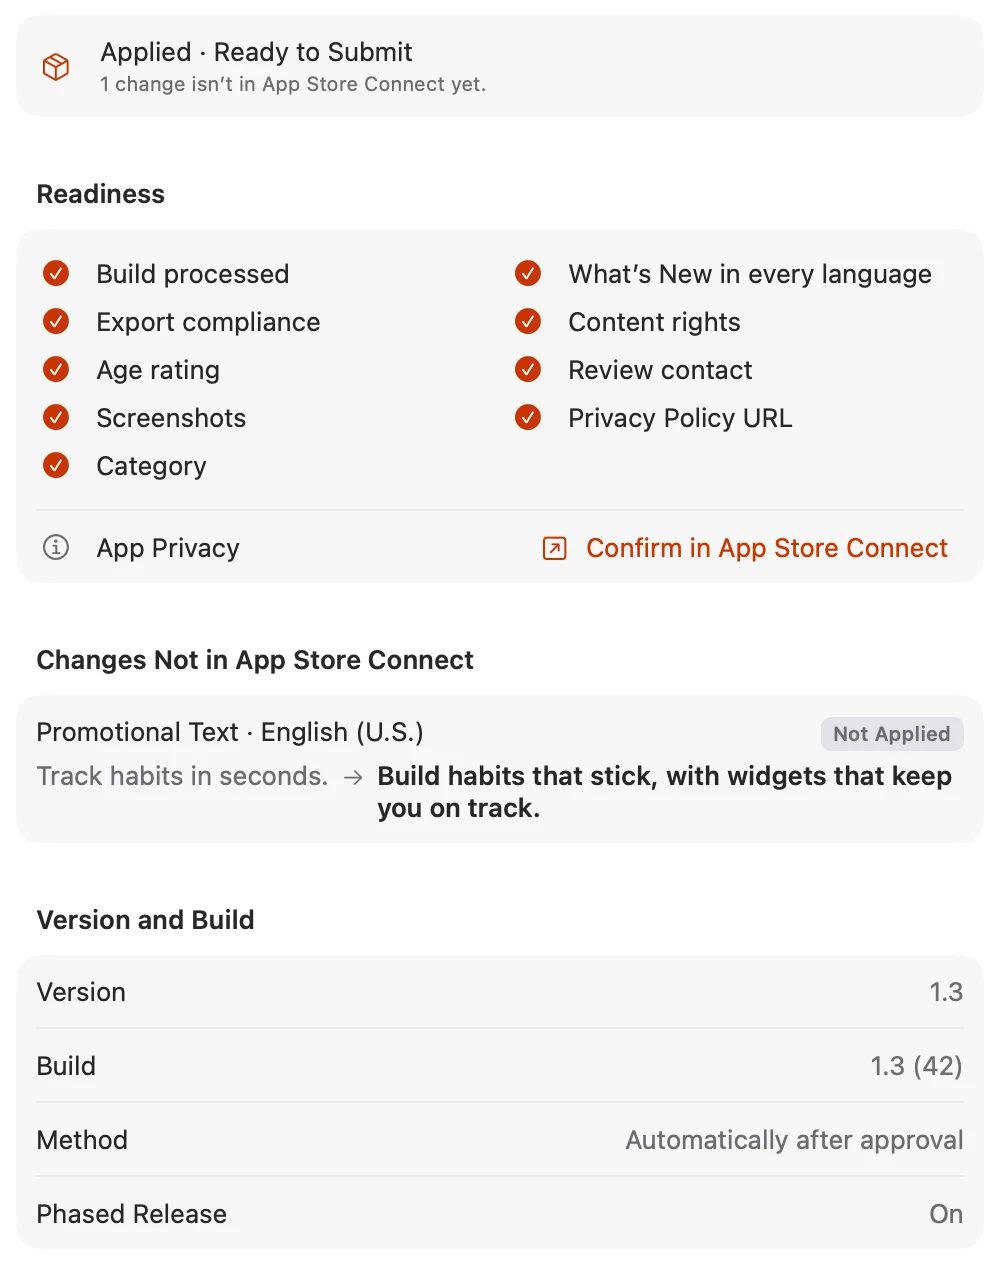
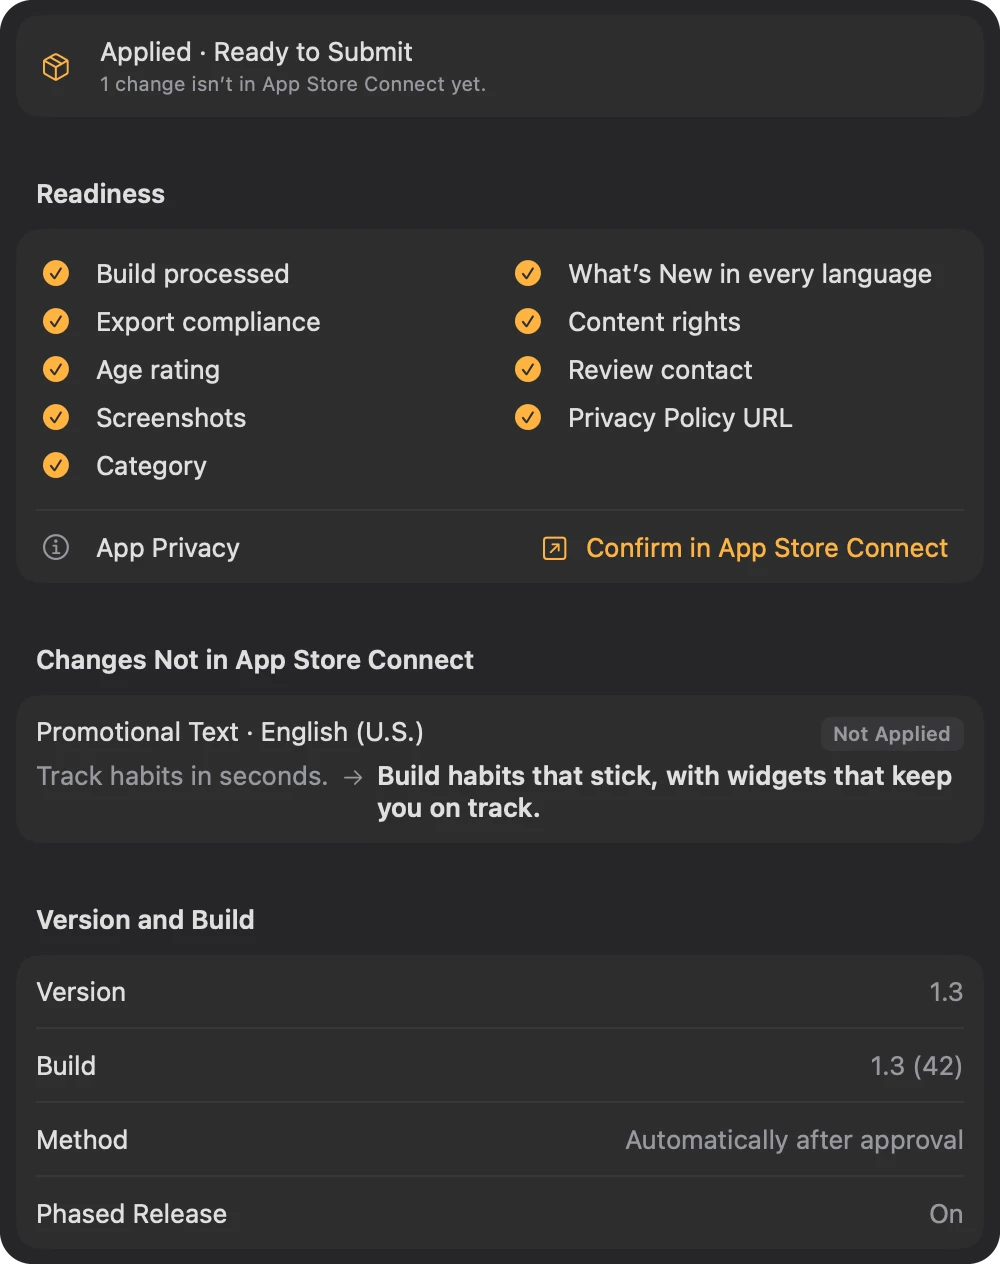
prepare_release starts a release draft in SwiftSales. What’s New (set_whats_new), description, keywords and promotional text (set_metadata), name, subtitle and privacy policy URL (set_app_info), category and age rating go into that draft first, without changing App Store Connect. Screenshots take two tools: upload_media sends the files to your app’s media in App Store Connect (Prepare level), and place_media puts them in order for each device size in the draft. check_readiness lists what’s missing, and links to App Store Connect for what you confirm there yourself, such as the App Privacy answers.
You can read the whole draft in SwiftSales on your Mac. When it’s right, apply_release writes it to the version in App Store Connect. That needs the Prepare level, and nothing reaches App Review yet.
6. Submit for review
On the version page, choose the build, then Add for Review and Submit for Review. Items such as in-app events can go in the same submission.
Apple’s own figure: App Review typically reviews at least 50% of submissions in less than 24 hours and 90% in less than 48 hours. You can request an expedited review for a critical bug fix or a time-bound event.
The rejections new apps meet most often:
- 2.1 App Completeness. Apple says over 40% of unresolved issues fall under it: crashes, placeholder content, broken links, a missing demo account.
- 5.1.1 Data Collection and Storage. Ask only for data you need, explain permission prompts, and let people delete an account they can create in the app.
- 4.3 Spam. Several near-identical versions of one app, or a template app that adds little to a crowded category.
The App Review Guidelines are worth reading once, in full, before your first submission.
With SwiftSales
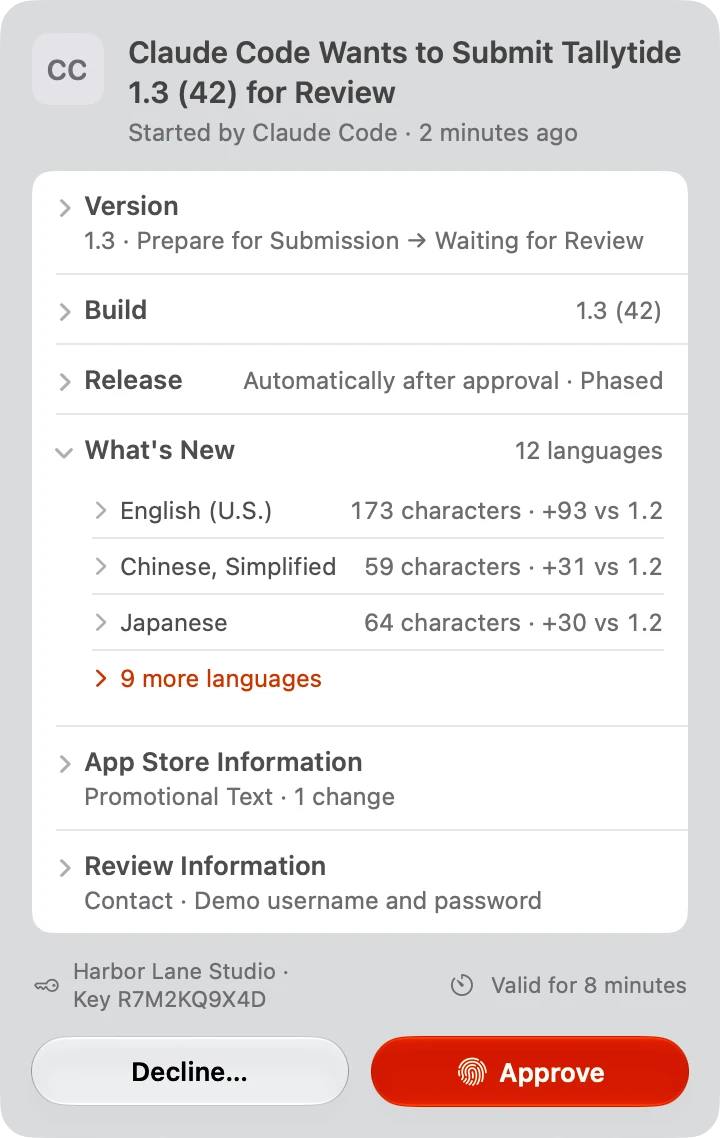
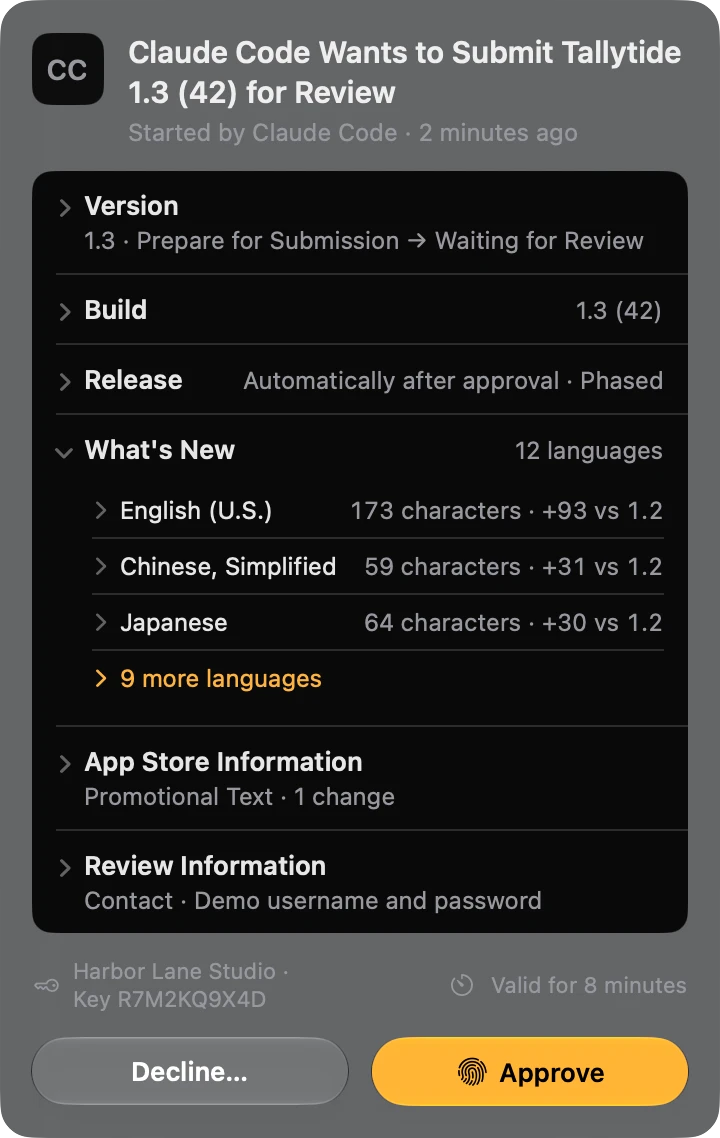
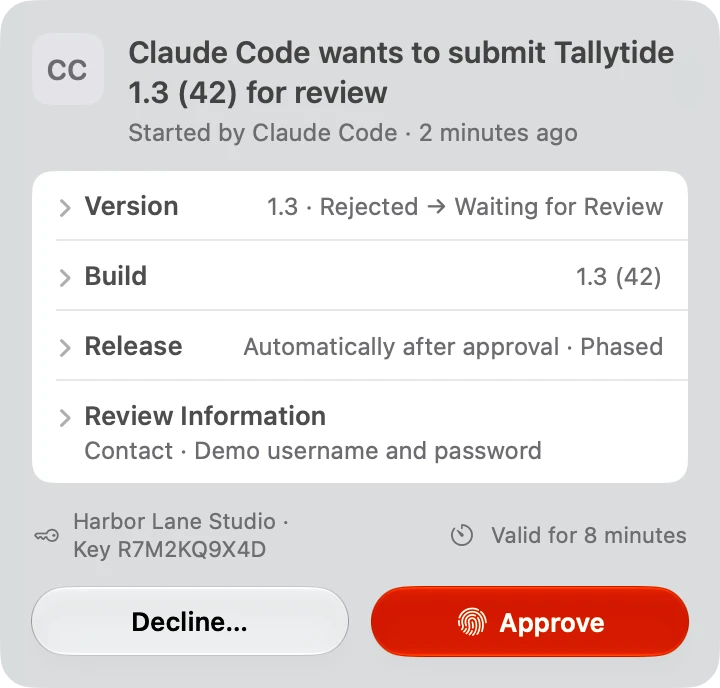
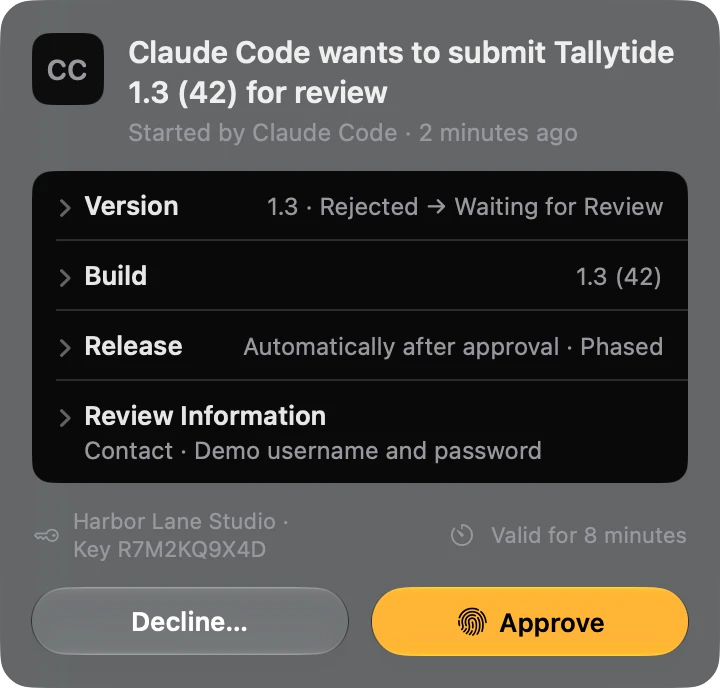
Submit Tallytide 1.3 for review.submit_for_review always waits for you. SwiftSales shows a card in the menu bar and in its window with exactly what will change: the version and its state, the build, the release option, What’s New for each language and the review information. Approve it, with Touch ID on Macs that have it, or decline it. A request expires after 10 minutes by default; you can choose 5, 10 or 30 in Settings › Agent Access › Approval Expires After. A card whose draft changed after it appeared can’t be approved.
If App Review rejects the version
By hand. Open your app in App Store Connect, read the reviewer’s message under App Review, fix the cause and reply there. Then submit the version again.
With SwiftSales. release_status and the release draft show the rejection, with a link to your app in App Store Connect. Apple’s API doesn’t include App Review’s messages, so copy the reviewer’s message and paste it to Claude Code:
App Review rejected Tallytide 1.3. Their message:
<paste the message>
Draft a reply and a list of what to fix.
draft_review_reply picks out the guideline sections the message names and returns them with links, a fix list that names the SwiftSales tool for each fix (for example set_review_details for the review notes, or upload_build for a new build), and a reply template with the parts to fill in. It changes nothing. You read the reply and send it yourself in App Store Connect. Once the fixes are in, submit_for_review sends the version back, and SwiftSales asks you to approve that too.
7. Release
Choose how the version goes live before you submit:
- Manually release this version: you choose Release This Version when it’s approved. It can take up to 24 hours to appear on the App Store.
- Automatically release this version as soon as it’s approved.
- Automatically release after App Review, no earlier than a date and time you set.
For an update, you can also use phased release: over 7 days, automatic updates reach 1%, 2%, 5%, 10%, 20%, 50% and then 100% of users. Anyone can still download the update by hand, and you can pause a phased release for up to 30 days. See Release a version update in phases.
With SwiftSales
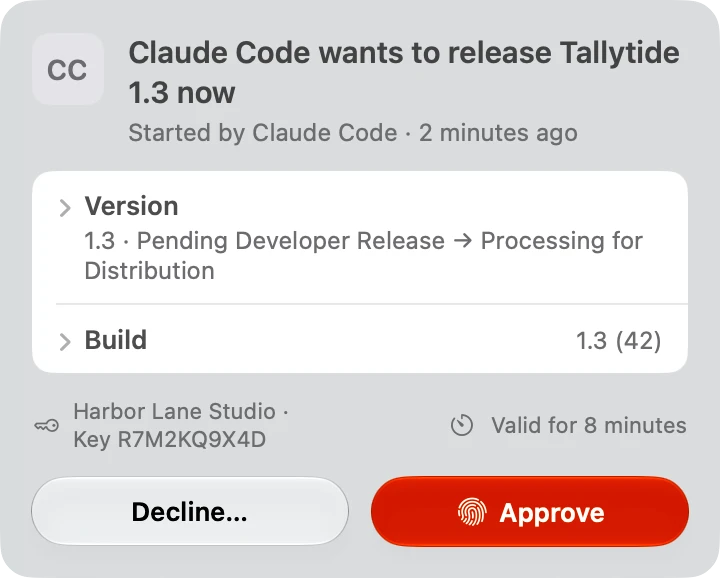
The release option is part of the release draft from step 5, so you see it on the submit card before you approve. For a manual release, ask when you’re ready:
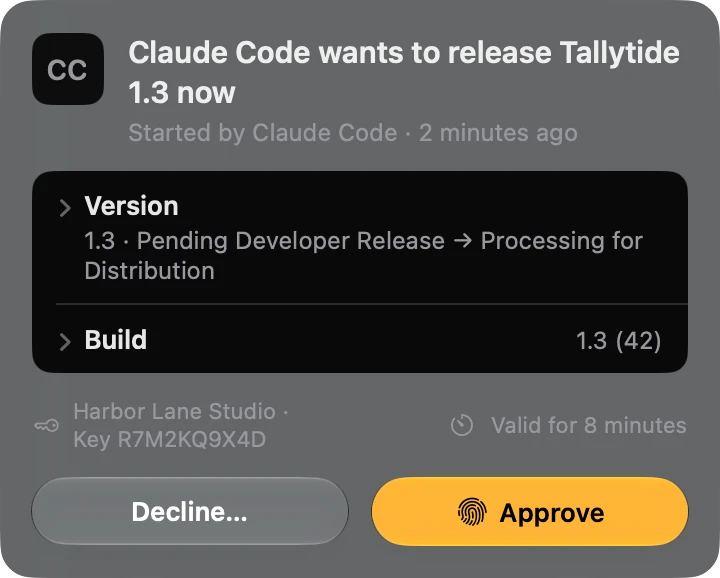
Release Tallytide 1.3 now.release_now asks for your approval, like every release. During a phased release, phased_release pauses it, resumes it or releases to everyone at once, each with your approval. A few days later, sales_since_release compares your sales since the release with the same number of days before it.
8. Set up SwiftSales
SwiftSales runs an App Store Connect MCP server on your Mac. Claude Code calls its tools, and SwiftSales makes the App Store Connect requests with your team’s key. Your agent never sees the key.
- Install SwiftSales on your Mac (macOS 26 or later) and add your team’s API key. Agent Access is part of Lifetime Premium and the 7-day free trial. Release work needs the App Manager role; Create an App Store Connect API key shows which key and role SwiftSales uses.
- Turn on Agent Access in SwiftSales › Settings and add SwiftSales to Claude Code with the command it copies for you. Connect an agent has every step.
- Choose the agent’s level. It starts at Read Only. Raise it as far as the steps you want it to do:
| Step | Tools | Level and approval |
|---|---|---|
| 3. Upload | upload_build, build_upload_status |
Prepare; asks once, for the build folder |
| 4. TestFlight | distribute_build, set_what_to_test |
Prepare; external groups need Submit and your approval |
| 5. Store page | prepare_release, set_whats_new, check_readiness |
Draft |
| 5. Screenshots, apply | upload_media, apply_release |
Prepare |
| 6. Submit | submit_for_review |
Submit; asks every time |
| 6. Rejection | release_status, draft_review_reply |
Read Only; you send the reply |
| 7. Release | release_now, phased_release |
Submit; asks every time |
Turn on Approve All App Store Connect Changes for an agent if you also want to approve every Prepare step. In Claude Code, type / and choose swiftsales:ship, or run /mcp__swiftsales__ship. To look before you connect anything, demo mode shows every screen with sample data.
9. Checklist
- Developer Program active, agreements signed, app record created.
- Version raised above the live one, build number above every earlier build of it.
- Built with Xcode 26 or later;
ITSAppUsesNonExemptEncryptionset. - Build uploaded and processed; tested in TestFlight.
- Name, subtitle, keywords, description and What's New in every language.
- Required screenshots, privacy policy URL, App Privacy answers, age rating.
- Review notes, with a demo account if your app needs a sign-in.
- Release option chosen: manual, automatic, scheduled or phased.
- Your agent ships your appClaude Code, Codex, Cursor, Claude or Xcode uploads the build, runs TestFlight, fills in your App Store page and submits for review, through SwiftSales on your Mac.
- Your sales at a glanceA dashboard on iPhone, iPad and Mac, Home Screen and Lock Screen widgets, the Mac menu bar and one notification a day.
- Your key, your approvalYour team's key stays in your Keychain, and your agent never sees it. Submitting and releasing wait for you to approve them on your Mac.
- Straight from AppleReports come straight from Apple to your devices and your own iCloud; no server of ours sees them. An agent you connect reads only what you allow and sends it to the AI service it uses.
Free download · 7-day free trial · Lifetime Premium US$9.99
One purchase, no subscription. Family Sharing included.