App Store Connect API key: Issuer ID, Key ID and roles
Uploading from the command line, CI, scripts, sales reports and coding agents all start with the same thing: an App Store Connect API key. Here is how to create one, which of its three parts goes where, and which role to give it.
What a key is
An App Store Connect API key has two halves. Apple keeps the public half; you download the private half once, as a file called AuthKey_<Key ID>.p8. With it you sign short-lived tokens (JWTs) that authorize each request to the API. Three values belong together:
| Value | Looks like | Where you find it |
|---|---|---|
| Issuer ID | 57246542-96fe-1a63-e053-0824d011072a |
Users and Access › Integrations, near the top of the page, with a Copy button |
| Key ID | 2X9R4HXF34 (10 characters) |
In the key’s row; hover next to it for Copy Key ID |
| Private key | AuthKey_2X9R4HXF34.p8 |
The file you downloaded. Apple keeps no copy |
These keys work only with the App Store Connect API. The In-App Purchase keys on the same Integrations page are a different kind of key, for the App Store Server API and subscription offers.
Team key or individual key
- Team keys reach every app in your account, with the roles you choose for the key. You can’t limit a team key to some apps. Only the Account Holder or an Admin can create them.
- Individual keys carry the access and apps of the person who creates them. Each user can have one active individual key. They can’t use the Provisioning endpoints, Sales and Finance reports or notarytool.
If you want sales or finance reports, or a key that keeps working when someone leaves the team, create a team key.
Before the first key
The first time, the Account Holder has to request access: Users and Access › Integrations › Request Access, accept the terms and submit. Apple reviews these requests case by case. After that, the Account Holder and Admins can create team keys.
Create a team key
- In App Store Connect, open Users and Access, then the Integrations tab. App Store Connect API is selected.
- Select Team Keys.
- Select Generate API Key, or the Add (+) button if you already have one.
- Enter a name. It’s only for you, for example the tool or machine that will use it.
- Under Access, choose the role (or roles) for the key (see the next section).
- Select Generate. The key appears with its Key ID.
- Select Download API Key and keep the
.p8file safe. The download link disappears once you’ve used it.
You can’t change a key’s name or roles later. To change them, revoke the key and create a new one.
Which role for which job
A key’s roles are the same roles people have on your team. Give it only what the job needs. This table follows Apple’s role permissions, where “full access” counts and “read-only access” doesn’t:
| Job | Role that covers it |
|---|---|
| Upload builds | App Manager or Developer (each with access to Certificates, Identifiers & Profiles) |
| Submit for review, release a version, phased release | App Manager |
| Create, edit and submit in-app purchases | App Manager |
| TestFlight builds and external groups | App Manager |
| Internal TestFlight groups | App Manager, Developer or Marketing |
| Sales and Trends reports | Finance, or Sales with access to reports |
| Payments and Financial Reports | Finance |
| Read customer reviews | App Manager, Developer, Marketing or Customer Support |
| Reply to customer reviews | Customer Support |
Two patterns cover most setups. A CI machine that uploads, hands builds to external testers and submits needs App Manager. A dashboard or script that reads sales and payments needs Finance. A tool that does both needs both roles. Admin works for everything, which is also why it’s the role to avoid for a key that lives on a build server.
Keep the private key safe
- Store the
.p8in a password manager or your Keychain, not in a repository. Apple’s guidance is explicit: don’t share keys, store them in a code repository or put them in client-side code. - A coding agent that can read your project can read any key file in it. Keep keys outside the folders the agent works in.
- Command-line tools look for the file in known places.
altool, for example, searches~/.appstoreconnect/private_keys/(among others) forAuthKey_<Key ID>.p8.
Sign a request
Each request carries Authorization: Bearer <token>, where the token is a JWT signed with ES256:
- Header:
alg=ES256,kid= your Key ID,typ=JWT. - Payload:
iss= your Issuer ID,iat= now,exp= no more than 20 minutes later,aud=appstoreconnect-v1. An optionalscopelimits the token to the requests you list. - Individual keys use
sub=userinstead ofiss.
With Apple’s CryptoKit, the whole thing fits in a short script. Save it as jwt.swift next to the key file and run swift jwt.swift:
import CryptoKit
import Foundation

let keyID = "2X9R4HXF34"                              // Key ID
let issuerID = "57246542-96fe-1a63-e053-0824d011072a" // Issuer ID
let pem = try String(contentsOfFile: "AuthKey_\(keyID).p8", encoding: .utf8)

func base64URL(_ data: Data) -> String {
    data.base64EncodedString()
        .replacingOccurrences(of: "+", with: "-")
        .replacingOccurrences(of: "/", with: "_")
        .replacingOccurrences(of: "=", with: "")
}

let now = Int(Date().timeIntervalSince1970)
let header = #"{"alg":"ES256","kid":"\#(keyID)","typ":"JWT"}"#
let payload = #"{"iss":"\#(issuerID)","iat":\#(now),"exp":\#(now + 1200),"aud":"appstoreconnect-v1"}"#
let input = base64URL(Data(header.utf8)) + "." + base64URL(Data(payload.utf8))
let key = try P256.Signing.PrivateKey(pemRepresentation: pem)
let signature = try key.signature(for: Data(input.utf8))
print(input + "." + base64URL(signature.rawRepresentation))
Then try it:
curl -H "Authorization: Bearer $(swift jwt.swift)" https://api.appstoreconnect.apple.com/v1/appsThe signature must be the raw 64-byte form (rawRepresentation), not DER. You don’t need a new token for every request: reuse one until it expires. For a one-off request, Apple suggests a lifetime as short as two minutes.
When a request fails
- 401 Unauthorized. Apple’s status-code table doesn’t list it, but in practice it means the token wasn’t accepted. Check it against Apple’s token rules: the Key ID, Issuer ID and
.p8belong to the same key;expis no more than 20 minutes afteriat(Apple allows longer only for some scoped, read-only requests); your Mac’s clock is right;audisappstoreconnect-v1; an individual key’s token usessubinstead ofiss. - 403 Forbidden. Apple’s documentation names a revoked key, a badly formatted token, or an operation the key’s role doesn’t allow. Reading sales reports with an App Manager-only key is a typical case.
- 429 Too Many Requests. Limits apply per key and per rolling hour. Every response has an
X-Rate-Limitheader with the limit and what’s left.
Revoke and replace a key
Users and Access › Integrations › Team Keys › Edit, select the key, then Revoke Key. A revoked key can’t be reinstated, and it stays listed under Revoked for 30 days. To rotate a key without downtime, create the new one, move your tools to it, then revoke the old one.
Using the key with SwiftSales
SwiftSales uses your team’s key for both of its halves: the sales and finance reports behind its dashboard, and the App Store Connect work your agent does through its App Store Connect MCP server.
Which key and role
- A team key. Sales and Finance reports only work with team keys, so an individual key won’t do.
- Finance + App Manager is the recommended choice. Finance reads the finance reports, so fiscal months show the amounts Apple settled. App Manager lets your agent upload builds, run TestFlight, submit, release and create in-app purchases.
- Finance alone is enough for the dashboard. When you want your agent to ship as well, add a Release Key: a second team key with App Manager, which you add in SwiftSales on your Mac under Settings › Teams. SwiftSales uses it only for release work.
- Sales, with access to reports, also reads your sales. Fiscal month amounts are then estimated from the daily reports.
When a key can’t do something, SwiftSales tells you which role to add. Create a Team Key walks through it in the app’s own words.
Where it’s kept
You import the .p8 file once and enter the Issuer ID and your vendor number; SwiftSales fills in the Key ID when the file keeps its original name. The key stays in your Keychain, and with iCloud sync on (part of Lifetime Premium and the free trial) your other iPhone, iPad and Mac can use it too. It goes nowhere else: SwiftSales signs each request on your device and talks to Apple directly, so the key never has to sit in a project folder, and your agent never sees it.
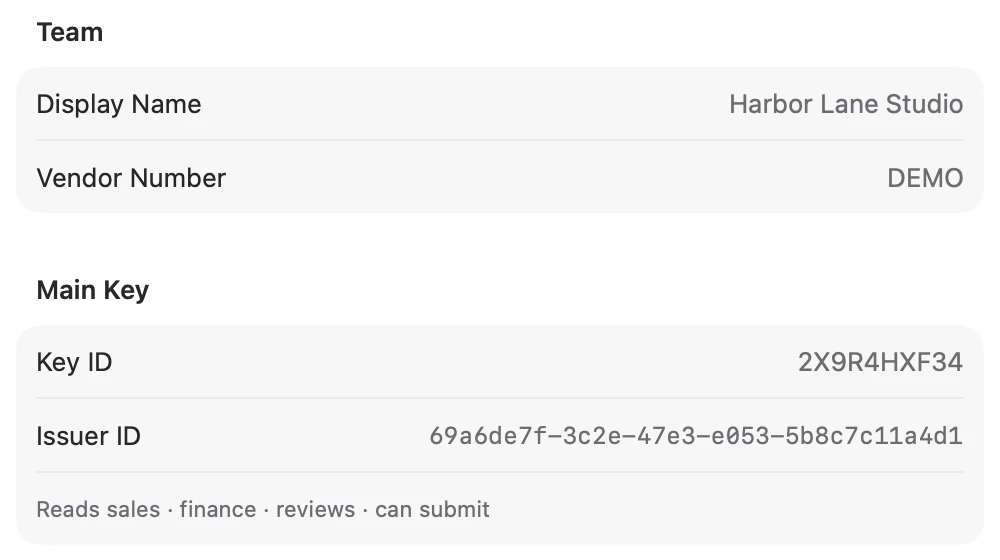
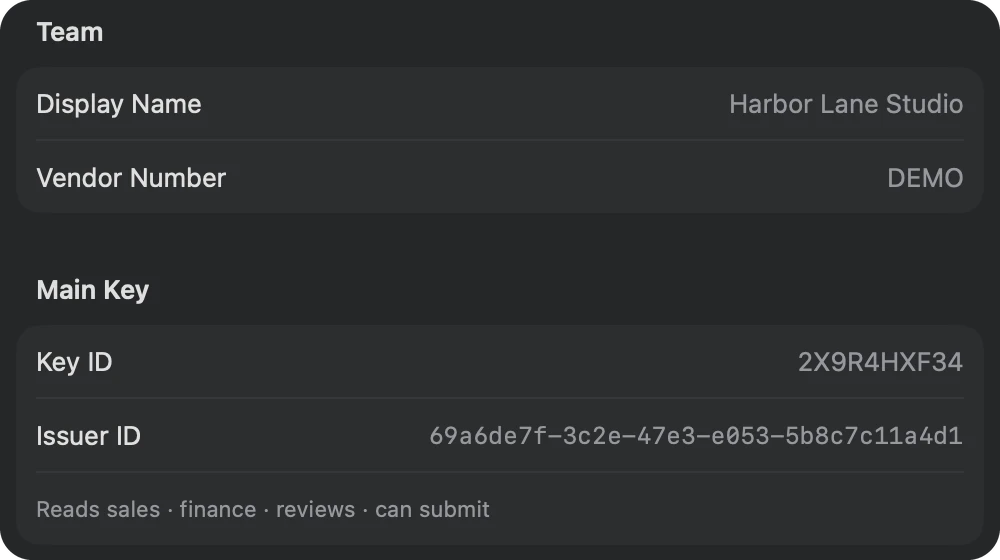
What you see once it’s connected
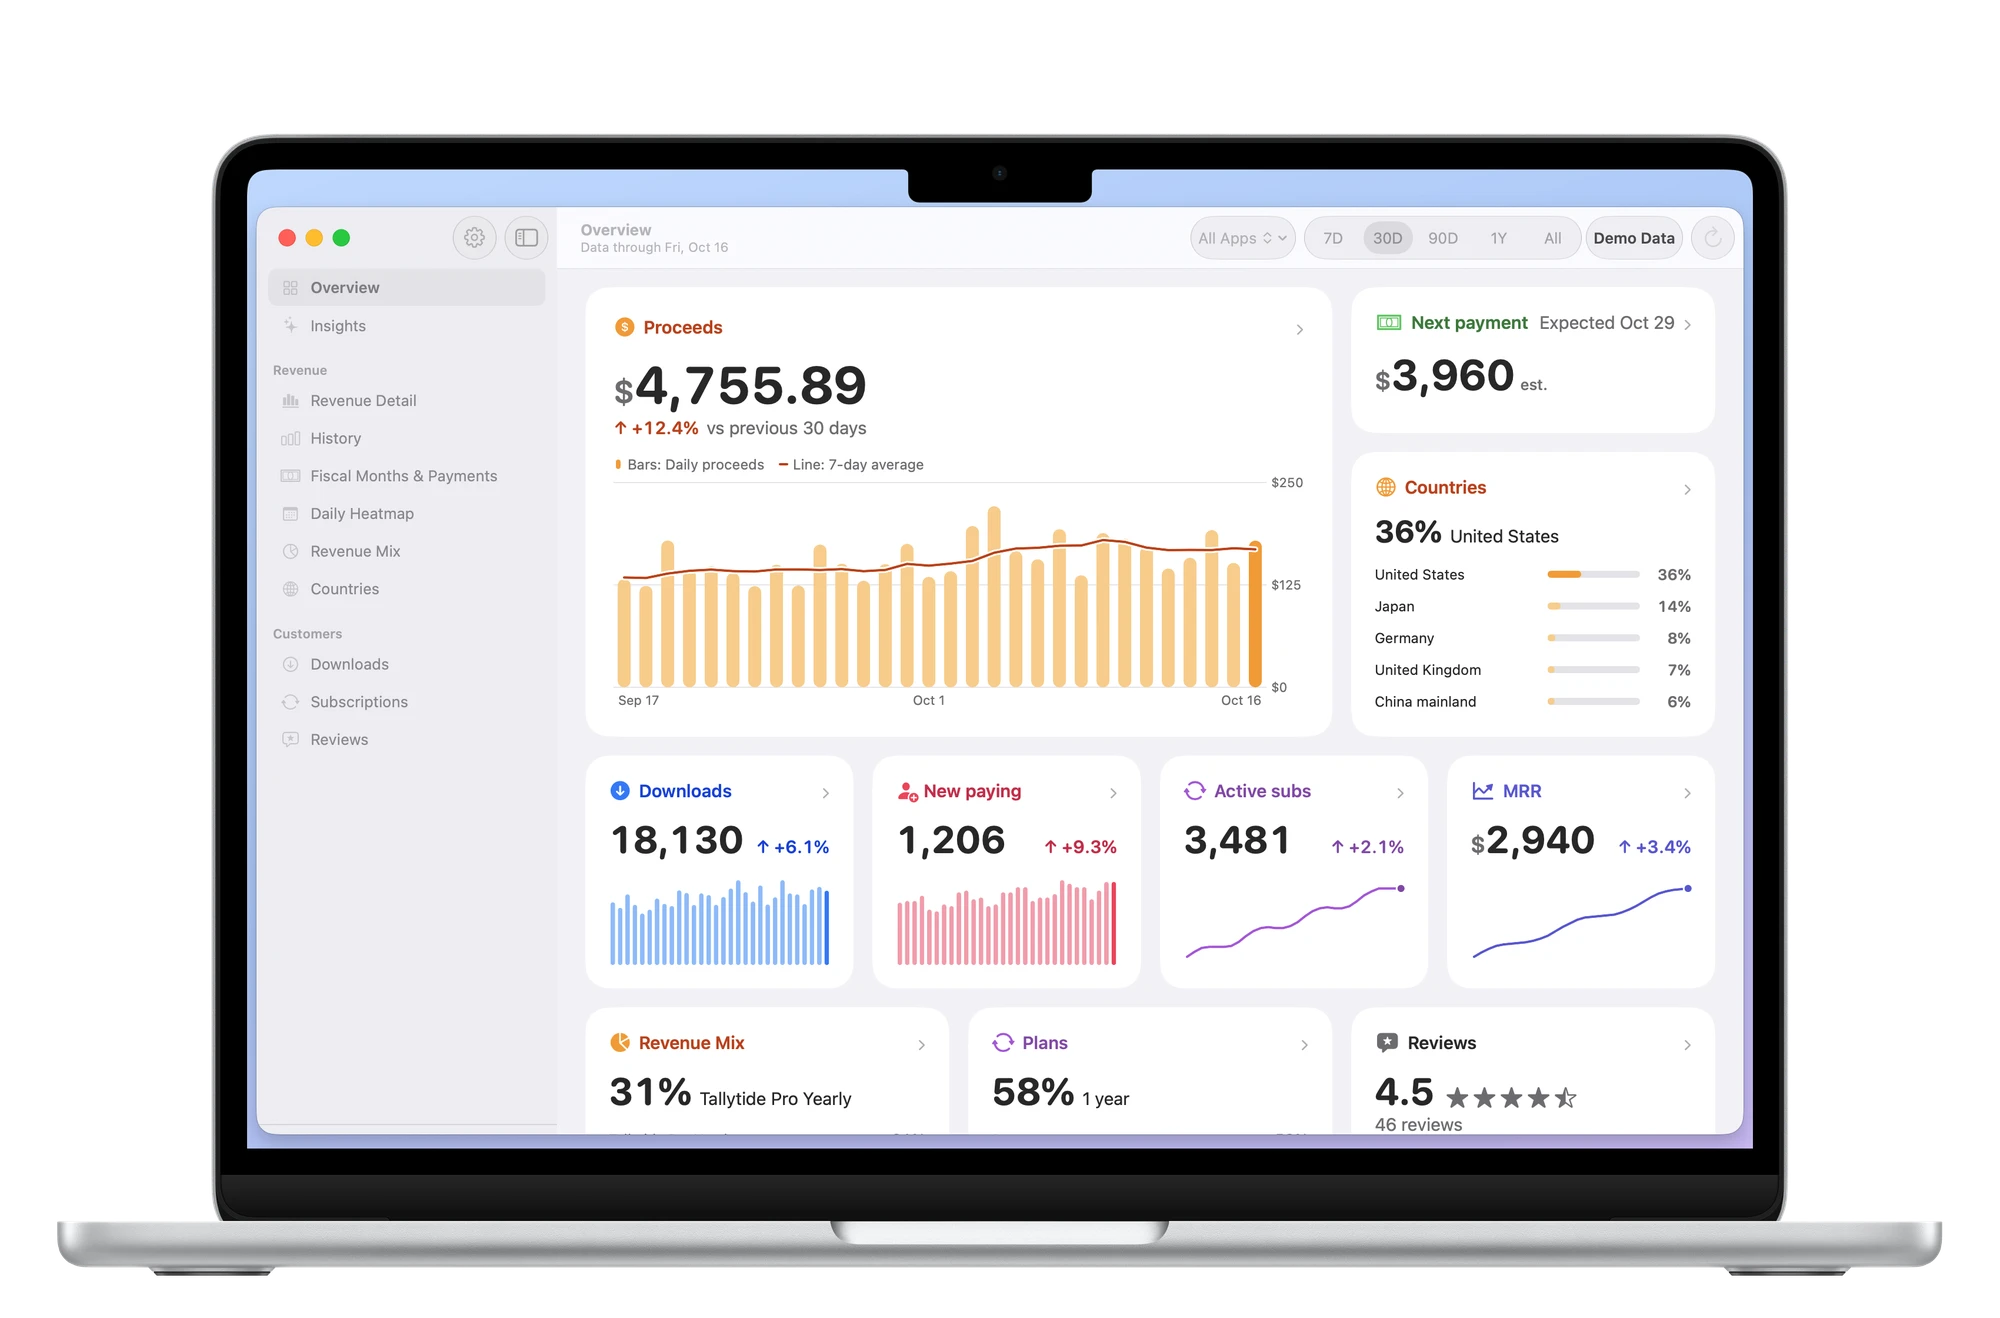
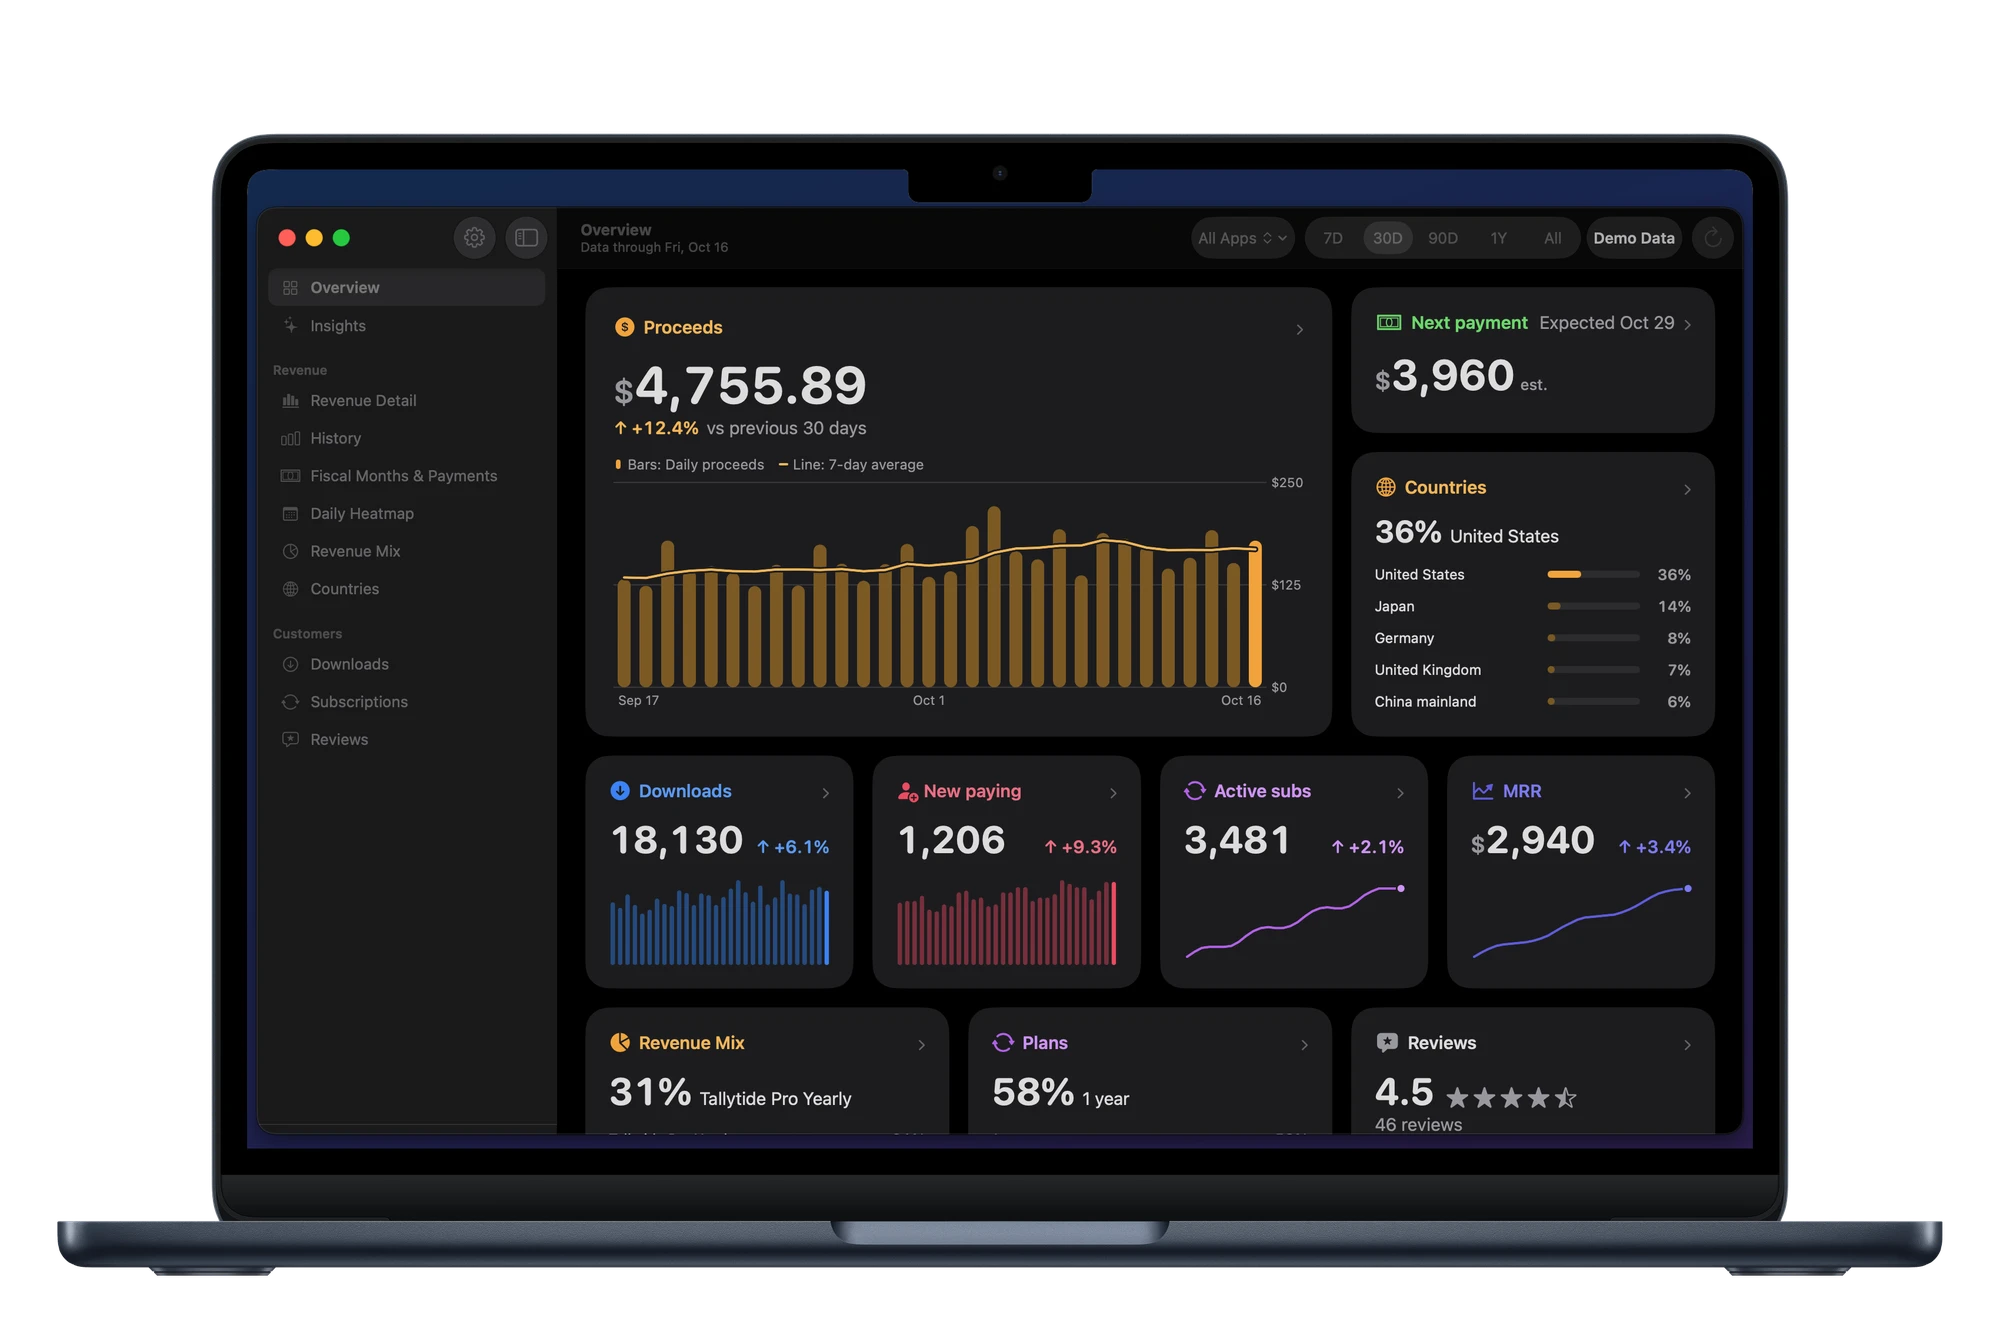
SwiftSales downloads your reports straight from Apple. The Overview answers the daily questions on one card each: proceeds, downloads, new paying customers, active subscriptions and MRR for any period, and when Apple pays next. Home Screen and Lock Screen widgets, the Mac menu bar and one notification a day show the latest day. Introducing SwiftSales has the tour.
What your agent can do with it
Turn on Agent Access in SwiftSales on your Mac, and Claude Code, Codex, Cursor, Claude or Xcode can use the same key through SwiftSales: answer questions about your sales and reviews, upload a build, run TestFlight, fill in your App Store page, submit for review and release. Each agent starts at Read Only, you choose its level and its apps, and submitting and releasing wait for your approval on your Mac. How to publish an iOS app with Claude Code goes through a release step by step, with and without SwiftSales.
- Your agent ships your appClaude Code, Codex, Cursor, Claude or Xcode uploads the build, runs TestFlight, fills in your App Store page and submits for review, through SwiftSales on your Mac.
- Your sales at a glanceA dashboard on iPhone, iPad and Mac, Home Screen and Lock Screen widgets, the Mac menu bar and one notification a day.
- Your key, your approvalYour team's key stays in your Keychain, and your agent never sees it. Submitting and releasing wait for you to approve them on your Mac.
- Straight from AppleReports come straight from Apple to your devices and your own iCloud; no server of ours sees them. An agent you connect reads only what you allow and sends it to the AI service it uses.
Free download · 7-day free trial · Lifetime Premium US$9.99
One purchase, no subscription. Family Sharing included.